
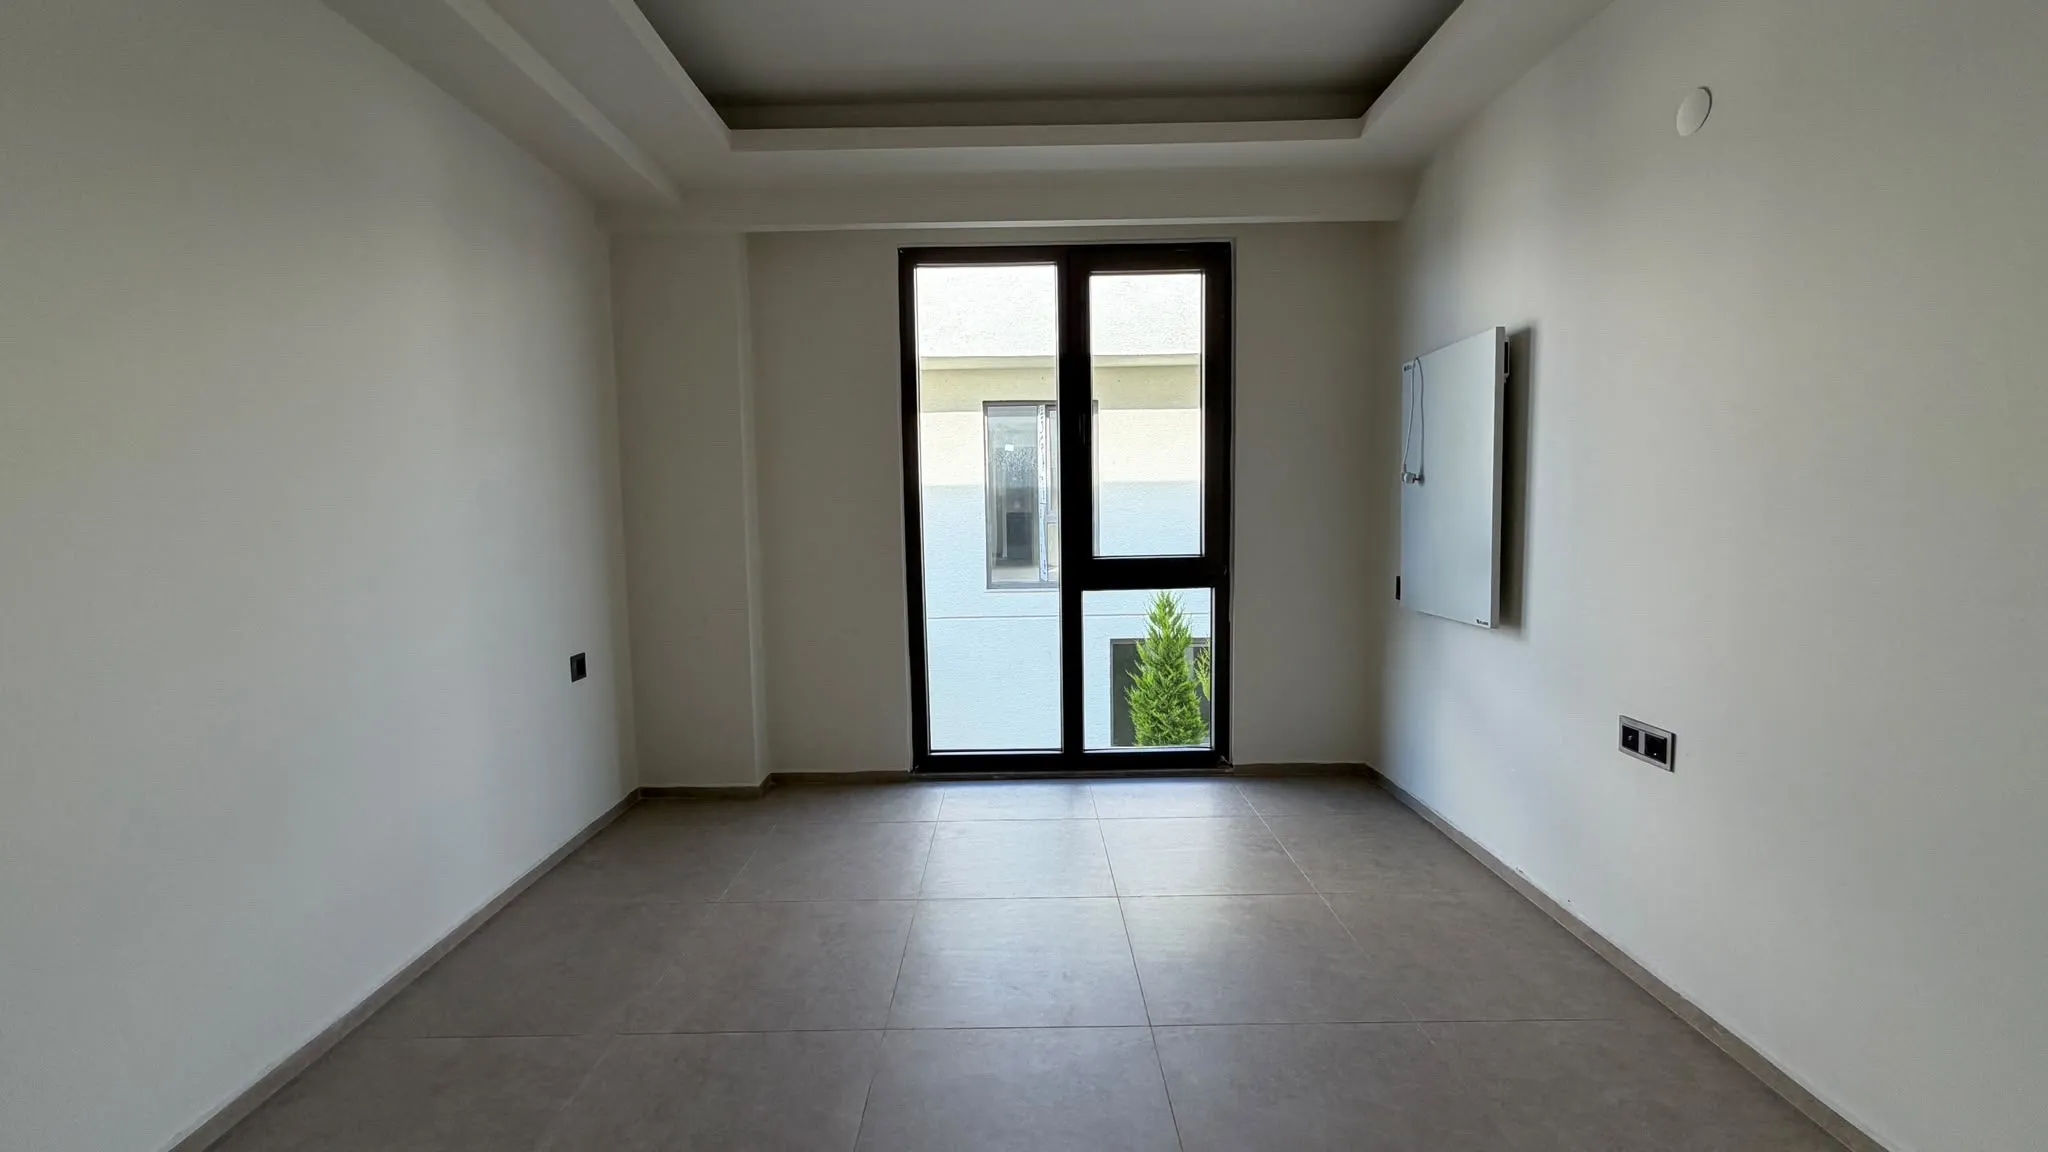
To take real estate photos with an iPhone, prepare the room first, then shoot in landscape with the grid turned on, the phone held straight at about chest height, and the 0.5x Ultra Wide lens for tight spaces if your iPhone has one. Touch and hold on a wall to lock exposure for the room, not the window, skip the flash, and take two or three angles of every main room from its corners.
Prepare the room before you take real estate photos
Most of what makes a listing photo look professional happens before you open the camera. A tidy, bright room photographed on a phone beats a cluttered, dim room photographed on an expensive camera.
Work through each room in this order:
- Open every blind and curtain, then turn on lamps and ceiling lights wherever the room still looks dim. Airbnb’s photo guide puts daylight first and adds room lights only if photos are still too dark (Airbnb, How to take great photos for your listing). If you can, use bulbs of the same color in a room; a mix of warm and cool bulbs tints walls yellow or blue. Turn off TVs and ceiling fans.
- Clear the surfaces. Kitchen counters, bathroom vanities, nightstands and the coffee table should hold no more than one or two items.
- Remove personal items: photos, mail, toiletries, pet bowls, kids’ toys and anything with a name on it.
- Straighten the bedding and pillows, and hang towels neatly.
- Close toilet lids, cabinet doors and drawers, and move cars out of the driveway for the exterior shot.
Clearing a room physically is always better than fixing it later. Clutter can be removed digitally, but the photo then counts as digitally altered, which you may have to disclose, and an automated edit can change more than you asked for. Check every edited photo against the original before you use it.
Which iPhone camera settings to use for real estate photos
Turn on the grid and level, leave HDR on automatic and Lens Correction on, and switch to JPEG if your MLS or computer will not accept HEIC files.
- Grid and Level: open the Settings app, tap Camera, then turn on Grid and Level. Apple describes them as tools to help you straighten and compose your shot (Apple, Use iPhone camera tools). Use the grid’s vertical lines against door frames and wall corners: if they are not parallel, you are tipping the phone up or down.
- Lens Correction: on supported models it is on by default and makes photos from the Ultra Wide camera look more natural. Leave it on (Apple, Change advanced camera settings).
- HDR: by default, iPhone takes photos in HDR when it is most effective, so on recent models there is no switch to find (Apple, Adjust HDR camera settings).
- File format: iPhones save photos as HEIF (.heic files) unless you change it. If your MLS upload tool or computer will not open them, go to Settings > Camera > Formats and choose Most Compatible, so new photos save as JPEG (Apple, Using HEIF or HEVC media).
- ProRAW (iPhone 12 Pro and later Pro models): leave it off unless you edit in an app like Lightroom (Apple, About Apple ProRAW).
Which iPhone lens to use for each room
Use the 0.5x Ultra Wide lens for small rooms and bathrooms, and 1x for large rooms and exteriors. The Ultra Wide lens fits a whole small room into one frame, which makes it the most useful lens for interiors. On supported models, tap 0.5x at the bottom of the camera screen to switch to it (Apple, iPhone camera basics). Some models have no Ultra Wide camera, such as iPhone 16e (Apple, iPhone 16e tech specs).
| Room | Lens | Where to stand |
|---|---|---|
| Bathroom, laundry, small bedroom | 0.5x | In the doorway or a corner, phone at chest height |
| Kitchen | 0.5x or 1x | A corner that shows the counters and the main appliance wall |
| Living room, large bedroom | 1x first, 0.5x if needed | A corner on the window wall, so the window is behind you and light falls on the room |
| Exterior | 1x | Across the street or at the edge of the lot, slightly to one side |
Shoot from a corner so two walls are visible; a photo of one flat wall says little about a room’s size or shape.
Wide lenses stretch the edges of the frame, so furniture near the sides can look distorted and a room can look bigger online than it is in person. If a 0.5x shot stretches a chair at the edge, move the chair or switch to 1x. If your iPhone has no 0.5x button, stand in the doorway or the farthest corner at 1x and take two overlapping angles instead.
How to hold your iPhone for straight, steady shots
Hold the phone in landscape, at about chest height, pointed straight ahead. Airbnb’s guide says horizontal photos work better than vertical ones because its listing pages display photos in landscape mode, and it recommends a neutral position “without tilting the lens up or down” (Airbnb photo guide).
Tilting is what makes walls, door frames and cabinets lean inward, and fixing it afterward crops away part of the photo. These habits help:
- Lower, not tilted. If you want more floor in the shot, crouch a little and keep the phone straight.
- Brace the phone. Rest your elbows against your body or lean on a door frame, or use a small tripod with a phone clamp.
- Do not tap the shutter button. Press a volume button to take the photo (Apple, iPhone camera basics) or set the 3-second timer, so the tap does not shake the phone.
- Do not pinch to zoom. Use the lens buttons at the bottom of the screen and move your feet instead; zooming in between them crops the image.
- Leave room to crop. The iPhone camera shoots in 1:1, 4:3 or 16:9 (Apple, Use iPhone camera tools), none of which is the 3:2 shape of Airbnb’s minimum, 1024 x 683 pixels in landscape (Airbnb listing photo guidance). If you shoot in 4:3, keep important details away from the top and bottom edges so a 3:2 crop does not cut them off.
- Wipe the lens. A phone lens picks up pocket grease, which makes lights glow and the whole photo look hazy.
- Check every mirror and glass door for your own reflection, and step to the side until you are out of it.
How to expose a room with bright windows
Touch and hold a wall inside the room until you see AE/AF Lock, drag the brightness down slightly if the windows turn pure white, and let HDR do the rest. Bright windows against a darker room are the hardest part of interior photography, and these steps handle most of it:
- Meter on the room, not the window. Pick a wall or piece of furniture in the middle of the room, not the bright glass.
- Lock it for the room. Touch and hold that spot until you see AE/AF Lock, so every angle of the room gets the same exposure. Tap the screen to unlock (Apple, Use iPhone camera tools).
- Drag to adjust. With the lock on, drag up or down next to the focus area to brighten or darken the shot.
- Turn the flash off. A phone flash lights the nearest objects and throws hard shadows on everything behind them.
- Let Night mode work in dim rooms. On supported models from iPhone 11 on, Night mode turns on automatically in low light and its icon turns yellow. Hold the phone still, or use a tripod, until the capture finishes (Apple, Use Night mode on your iPhone).
If a window still blows out, put it at the side of the frame rather than the center, or shoot that room when direct sun is not coming through the glass, such as on an overcast day.
Which shots to take: a room-by-room shot list
Take every main room from two or three angles, every other room from at least one, and the front and back of the house. For a three-bedroom, two-bathroom home, following this list gives you about 15 to 20 photos before extras:
- Exterior: the front of the house from across the street, ideally with the sun behind you lighting the front, plus the backyard or any outdoor space.
- Main rooms, two or three angles each: living room, kitchen, dining area and primary bedroom, shot from opposite corners.
- Every other room, at least one angle: each bedroom and bathroom, the laundry, garage and any office.
- Features buyers ask about: a fireplace, a kitchen island, built-in storage or a view from a window.
- For a short-term rental: each bed, the bathroom with towels set out, and every amenity your listing names, such as a workspace, coffee setup, washer or hot tub, so guests can see it is really there.
Take more than you need and choose later; deleting a weak photo is easier than going back for a missing one. Check your MLS for its photo limit before you choose your final set.
Edit honestly: what you can fix and what you must disclose
Basic corrections make a listing photo accurate, not fake: brightness, exposure, white balance, color, straightening and cropping. To fix a crooked shot on iPhone, the Photos app’s editing tools can straighten a photo and adjust its horizontal and vertical perspective (Apple, Use iPhone camera tools).
Edits that change what is in the room are different. Removing furniture or clutter, adding virtual furniture or changing the view can mislead a buyer, and the rules are stricter. As of October 2026:
- The NAR Code of Ethics requires REALTORS® to present a true picture in their advertising (NAR Code of Ethics, Article 12).
- In California, AB 723 has required since January 1, 2026 that real estate licensees who use a digitally altered image to advertise a property for sale say that the image was altered and link to the original. Adding, removing or changing things such as furniture, fixtures, flooring, walls or the view counts as altering; lighting, exposure, white balance, color correction, straightening, angle and cropping do not, as long as they do not change how the property is represented (California AB 723).
- MLSs add their own rules. California’s CRMLS, for example, requires the original photo to appear immediately before or after the altered one, and the altered photo to be labeled, in its description field, with a term such as “Virtually Staged” or “Digitally Altered” (CRMLS digitally altered images FAQ).
- For short-term rentals, Airbnb’s ground rules forbid using AI or editing to hide flaws or damage, or to add amenities that are not part of the listing (Airbnb ground rules for hosts).
Never change permanent features such as walls, windows, doors or flooring, and never hide damage. Check your MLS’s current rules before you publish anything digitally altered, and keep the untouched original of every photo so you can show both.
How to do it all in CurbShot
CurbShot is a phone app that takes a listing from capture or import through editing to export, with every original kept beside its edit.
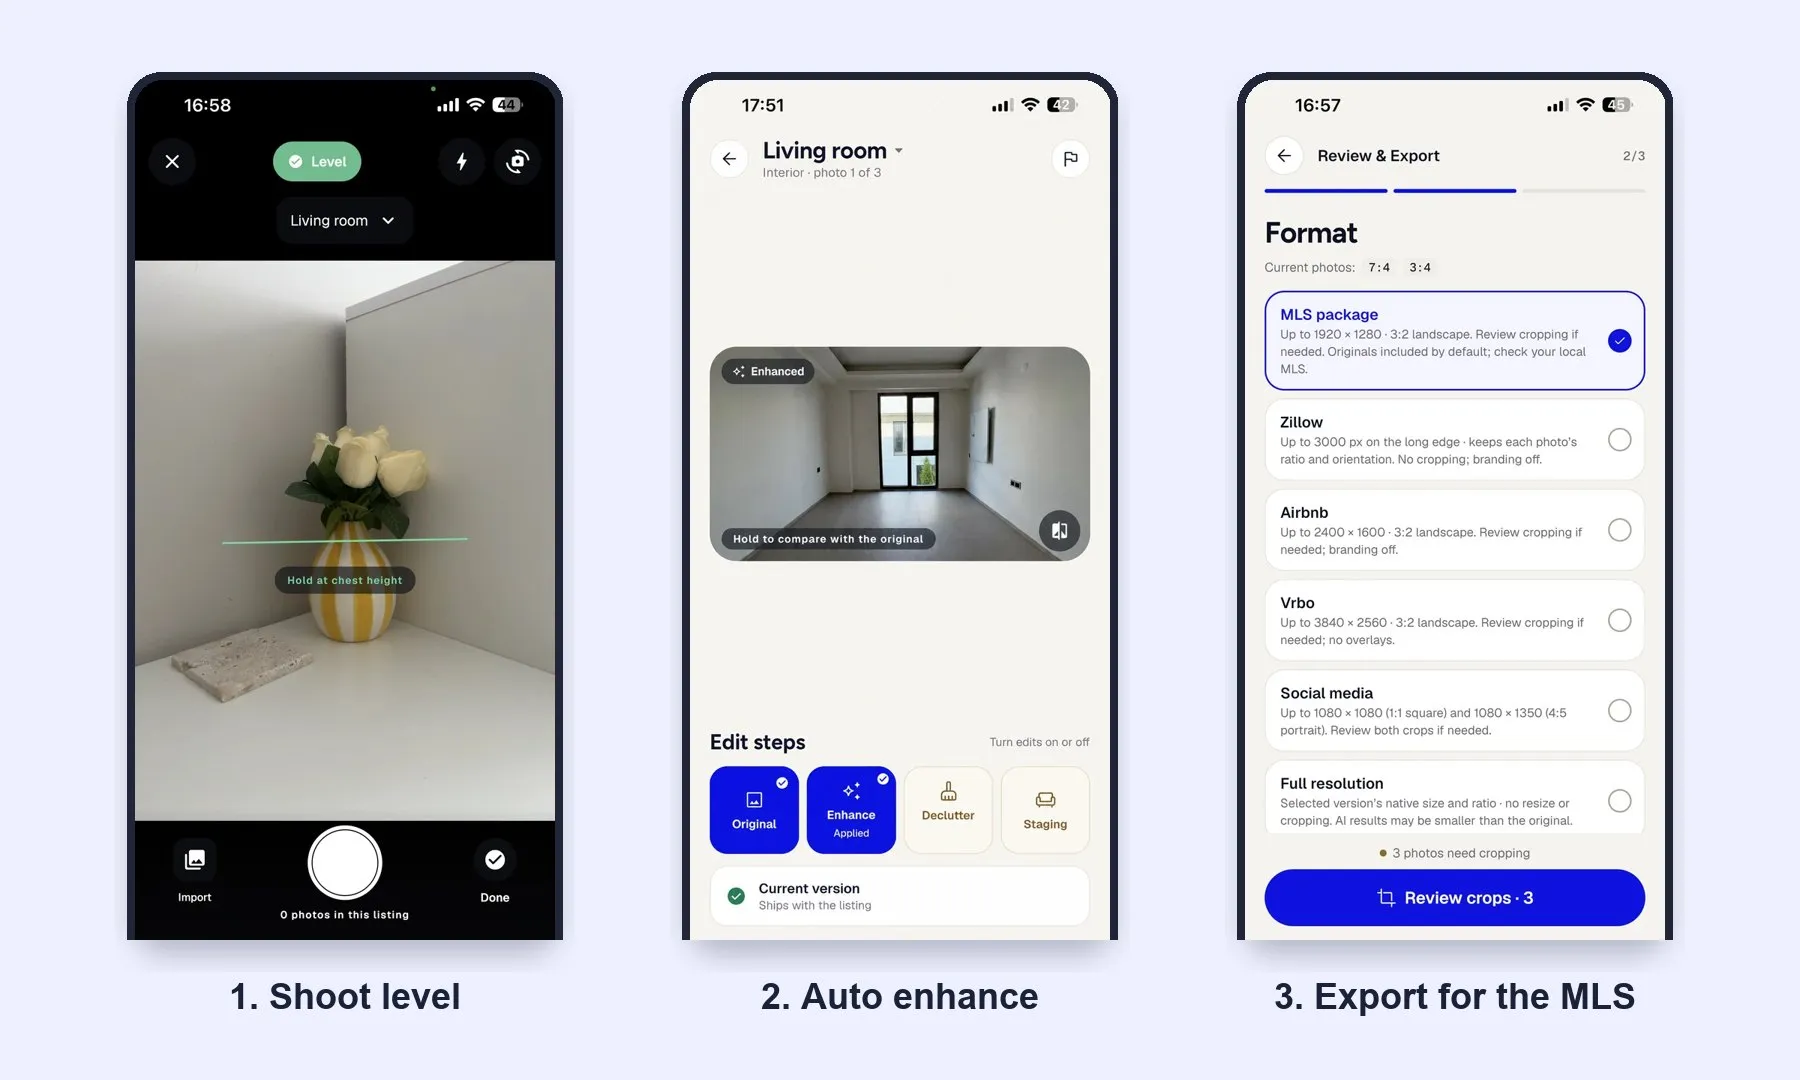
- Create a listing, then shoot with CurbShot’s camera. It shows a level guide, a “Hold at chest height” hint and a room selector, so each photo is filed under the right room. For 0.5x shots, take the photo in the iPhone Camera app and import it into the listing; you can import up to 30 photos at a time.
- Let Enhance run. Every photo is enhanced automatically when it is added: exposure and white balance are corrected, window light is balanced and leaning verticals are straightened. The untouched original is always kept, and you can hold to compare the two.
- Declutter or stage only where needed. Remove portable clutter, or virtually stage an empty room for a sale listing (Airbnb listings must show the real space); the app shows the cost before you tap. CurbShot will not change walls, windows, doors or the view. Label any decluttered or staged photo as digitally altered, and check your MLS’s current rules for how.
- Export for the destination. The MLS package exports each photo at up to 1920 x 1280 pixels in 3:2 landscape, with its original included by default, and you approve each crop before export. The folder also holds a
what-was-done.txtnote with one line per file, worded to paste into a caption or remarks field. For a photo that was only enhanced, it reads “Light and colour corrected. Nothing in the room was added, removed or moved.” Zillow, Airbnb and Vrbo have their own presets.
See the full flow on the CurbShot home page, or read why every original is kept. CurbShot is free to start with five photos and one staging session.